Free pack from Ableton

Break Selection is a collection of Vintage Drum Breaks including 175 drum loops produced by Sample Magic.

20141221 free pack.png

It contains drum kit and hi-hat loops recorded in the very best high-end studios with rare mics, pre-amps and vintage outboard equipment.

The grooves have been meticulously laid down by some of the industry's top players for an authentic feel and vibe across the board. Modern and retro combinations of equipment, mic placements and mixing techniques have been utilized to re-create the very best drum sounds from the decades. This pack is free; you must own Live 9 to use it.

Using Ableton Live in theatre situations

Ableton Live in the theatre

Ableton Live is immensely useful for theatre performance. I do a lot of the electronic sound effects in Ableton Live where I'm using an Akai APC40 and keyboards to trigger things in Ableton. The sounds have plug-ins applied and are bounced down in advance to avoid CPU load during the live performance. Ableton is also used to trigger video cues and projector shows plus triggering steam jets and smoke machines.

One advantage that handling sound design for a theatre offers is that it is at a fixed location, unlike touring with a band, where venues can differ significantly one from another. However, mixing a live band is one thing but a theatrical performance - especially one so dependent on special effects, with infinite potential for timing changes and pratfalls (both literal and metaphorical) - calls for extreme adaptability and great watchfulness. There's no way the show can be put on a memory stick and left more or less on autopilot. Timing the show and all the special effects to the performers' actual movements needs to be done quite literally footstep by footstep.

This year the Secret Panto Society (SPS) are working on a production of Cinderella and I have four main categories of sound which have to be provided. These are as follows:

  • Songs

  • Dances

  • Atmospherics

  • Sound Effects (SFX)

Songs, dances, atmospherics

The show has recorded music running pretty much continuously throughout, but especially with pantomime, the performers are working off the audience's reactions so sequences never last the same amount of time and musical climaxes are very hard to nail down.

Songs and dances don't present any real problems as the performers follow the music with little scope for ad lib variation; for the atmospherics it is a different matter as the performances change each night and are very dependent on audience reaction. This is particularly noticeable here in the south of France where we have a multi-cultural spread of people and we find that the audience during some performances may be predominantly German or French or Spanish, whilst the last performance is almost exclusively British in make up. The reactions and music timings vary enormously with these different audiences.

Here you can see my Ableton Live project with tracks to cover songs, dances and atmospherics.

Ableton Live used in the theatre

I often split the music into sections, a mix of holding loops and transitional bits of music. Over the course of one scene I may cycle through 5 pieces of music, vamping sections as needed, then moving into the next bit of transitional music leading into another holding loop, and so on.

Ableton Live can easily handle all that vamping and changing with minimal programming and does it in a musical way. I use an Akai professional APC40 connected to Ableton with each APC40 Scene relating to a scene in the pantomime and the APC40 tracks used for songs, dances and atmospherics. Using the faders on the APC40 I can respond to the dynamics in the piece of music and the dynamics of the performance, simultaneously, and make the music complement the performance by riding the music up and down, and fading it out in a musical performance-responsive manner. If required I can also programme in volume automation, filter sweeps, xfade to reverb, complex audio effects processing simply by sending MIDI control change information from the APC40.

SFX

In addition to running the music side of things, Ableton is also taking care of some of the spot sound effects. This is done from a midi keyboard connected to Ableton and triggering a Drum rack. Each drum position can hold a specific SFX which may also have it's own complex audio effects. The outputs are sent to different outputs on my audio interface allowing me to control exactly where in the theatre the sounds should appear i.e. outputs 1&2 are routed to FOH L&R, 3&4 to Upstage L&R, etc.

Triggering a sound effect using Simpler

Triggering a sound effect using Simpler

Ableton is an immensely powerful tool for creating sound designs - DAWs like PT and Logic are only just beginning to catch up with Ableton in terms of pitch/time manipulation. It is also particularly useful for sitting in rehearsals and throwing in SFX which can be fixed more permanently for performances.

How to use Ableton Templates to speed your workflow

I’m sure that like me, you want to spend your time creatively, rather than drowning in the technical aspects of your chosen DAW, then anything that helps speed up your workflow is important.

In Ableton Live, using templates is one of the biggest time savers when starting a new project. Ableton comes ready loaded with a set of templates which you can use. Look under the Live 8 Library and you will find the Ableton Master Template folder. Double-click any of these templates to load them.

ableton-master-template.png

However, that’s only the start as you can add your own Audio and Midi tracks with your preferred devices and effects and save this as your own template.

Use ‘File/Save Live Set as‘ and place it in Ableton’s Template folder in the Ableton Library. As an example, you may choose to add an EQ 8 and Compressor to each Audio track and a Simpler to each Midi track.

Note : the default template used when you create a new set, resides in Live’s Preferences folder rather than in the Library, so If you want your template to be the default one each time you open Ableton use ‘Options/Preferences/File Folder‘ and click the ‘Save Current Set as Default‘ option.

preferences1.png

Personalize

The tracks you want in your Template will depend on your workflow and the instruments you have. The default contents for each audio / midi channel will also be your personal choice, however, you might imagine to add a Compressor to drum tracks and a Reverb to Hi-Hats for example.

A good tip is if you add many instruments and effects to your tracks, switch them off to save computing power. De-activated devices in Ableton use no power so you can add as many as you may need – only switch them on when you need them.

Think of it like walking into a fully equipped recording studio with all the instruments laid out ready for you to start creating.

Here is the Arrangement View from my Template

arrangement.png

Some highlights are:

  • Colour your tracks to help speed navigation

  • Set the devices and effects you want in your Audio tracks – I have an SSL Channel strip

  • Set the devices and effects you want for each Midi track – I have a Simpler

  • I have a ‘Master Mix’ track for Mastering to

  • I have a ‘Faders Up’ track for rough mixes that I can export audio from to listen on other systems e.g. in the car the following day

  • Next is a ‘Reference’ track containing commercial track excerpts that I can reference against split into instrument types with the tonal balance you’re looking for – ideally something that hasn’t been totally decimated in mastering

reference.png
The Session View of my Template

The Session View of my Template

Camelot Harmonic mixing wheel

Harmonic Mixing is an advanced technique used by top DJs all over the world. By mixing tracks that are in the same or related keys you can eliminate key clashes. Many professional DJs move around the Camelot wheel with every mix. If you are not sure how to find the key of a song you could try using Mixed In Key software.

Camelot Harmonic mixing wheel

To select a compatible song, choose a keycode within one ‘hour’ of your current keycode. If the song you are playing is in 8A (A minor), you can play 7A, 8A or 9A next. If you are in 12A, you can play 11A, 12A or 1A. This mix will be smooth every time.

You can also mix between inner and outer wheels if you stay in the same ‘hour’. For example, try mixing from 8A (A minor) to 8B (C Major – the relative Major) and notice the change in melody as you go from Minor to Major.

Harmonic mixing is a simple technique, but it opens up a world of creativity.

Stage work in progress – Cinderella

Cinderella

Cinderella

Once upon a time a group of British ex-pats got together and decided that it was a pity that their children were missing out on one of the great British traditions of the festive season – PANTOMIME. Out of this discussion came the decision to put on a performance and so the Secret Panto Society was born.

The name was decided upon, not with any intention to keep people out or become some sort of creed but with a genuine desire to surprise and delight that first audience. This first performance took place in 1984 with a production of Snow White and the Seven Dwarves.

At the moment I am in the early stages of working on musical ideas for the 2015 production of Cinderella.

Our version will be based in Italy and much as I would love to go into all the details – that would really be giving away the plot. You’ll just have to come and see.

Emotion

At this early stage my first consideration is to look at the emotional flow of the pantomime. It is important that the audience is taken on an emotional journey during the performance, where they feel uplifted, sad, happy, excited, anxious, etc. These emotions must be carefully controlled not only through the script of the pantomime but also by the use of music and and background ‘atmospherics’. Atmospherics (my name) are the background sounds ranging from low bass drones, to birdsong, to machine hums. Some of these may be subliminal but all of them will add to the production.

tension.jpg

Emotion curve

To begin this work I read through the script and draw an emotion curve to show the emotional flow over time.

My favourite emotion curve is based on classical geometry and the Golden Ratio. You find this relationship all around in nature and in classical Greek architecture. Johann Sebastian Bach frequently employed the Golden Ratio and the Fibonacci series in his compositions. In very simplistic terms, it means that the major climaxes of his music often mark the 61.8% of the length of a composition and that unique events (such as modulations, cadences, extended harmonies, new voice entrances, or register changes) fall on the divisions of the Fibonacci (who was appropriately Italian) series.

The songs, dances and atmospherics are then chosen to fit this curve, whilst also remaining appropriate for the audience and performers. In the case of this production, as it is based in Italy, all musical choices will attempt to have Italian elements – think Gondolas, canals, carnivals, masks and all things sparkly, glitzy and twinkly.

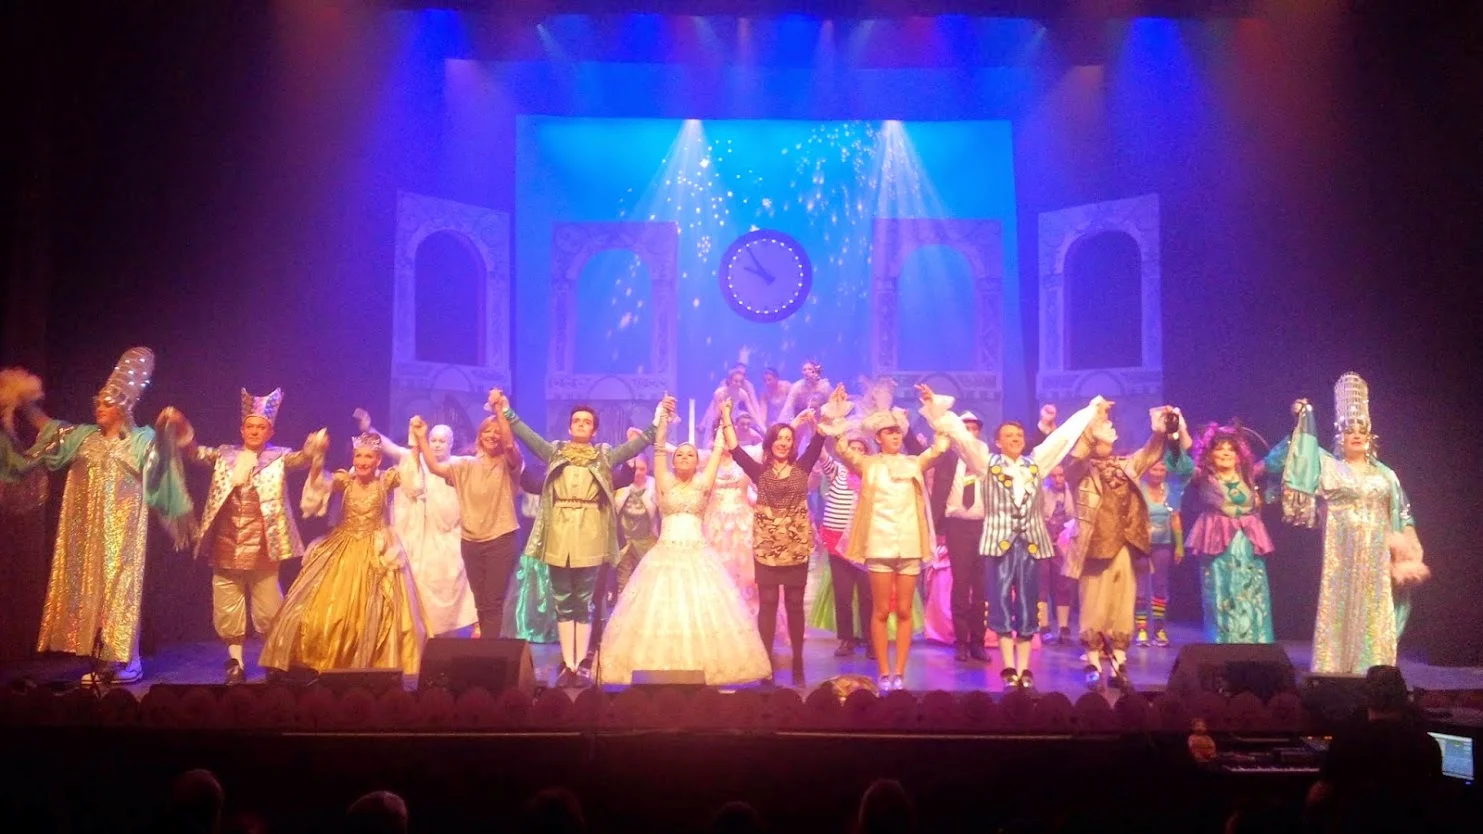
Walk down and curtain calls

Walk down and curtain calls

Crazy English Halcyon

My mashup of Faithless (Crazy English Summer) vs. Orbital (Halcyon) featuring the beautiful vocals of Zoe Johnston. The bass gave me grief, DX came good, 127 bpm in AMaj

Zoe Johnstone

Zoe Johnstone

Getting the vocals warped correctly took me hours and hours – great learning experience. Struggled to get a good bass sound for all the notes. Some gave a hollow phased sound. Doubled the bass and offset by 5ms (Haas effect) to try to thicken the sound – partially successful. I now know that bass should never be treated in this way – keep it mono – always.